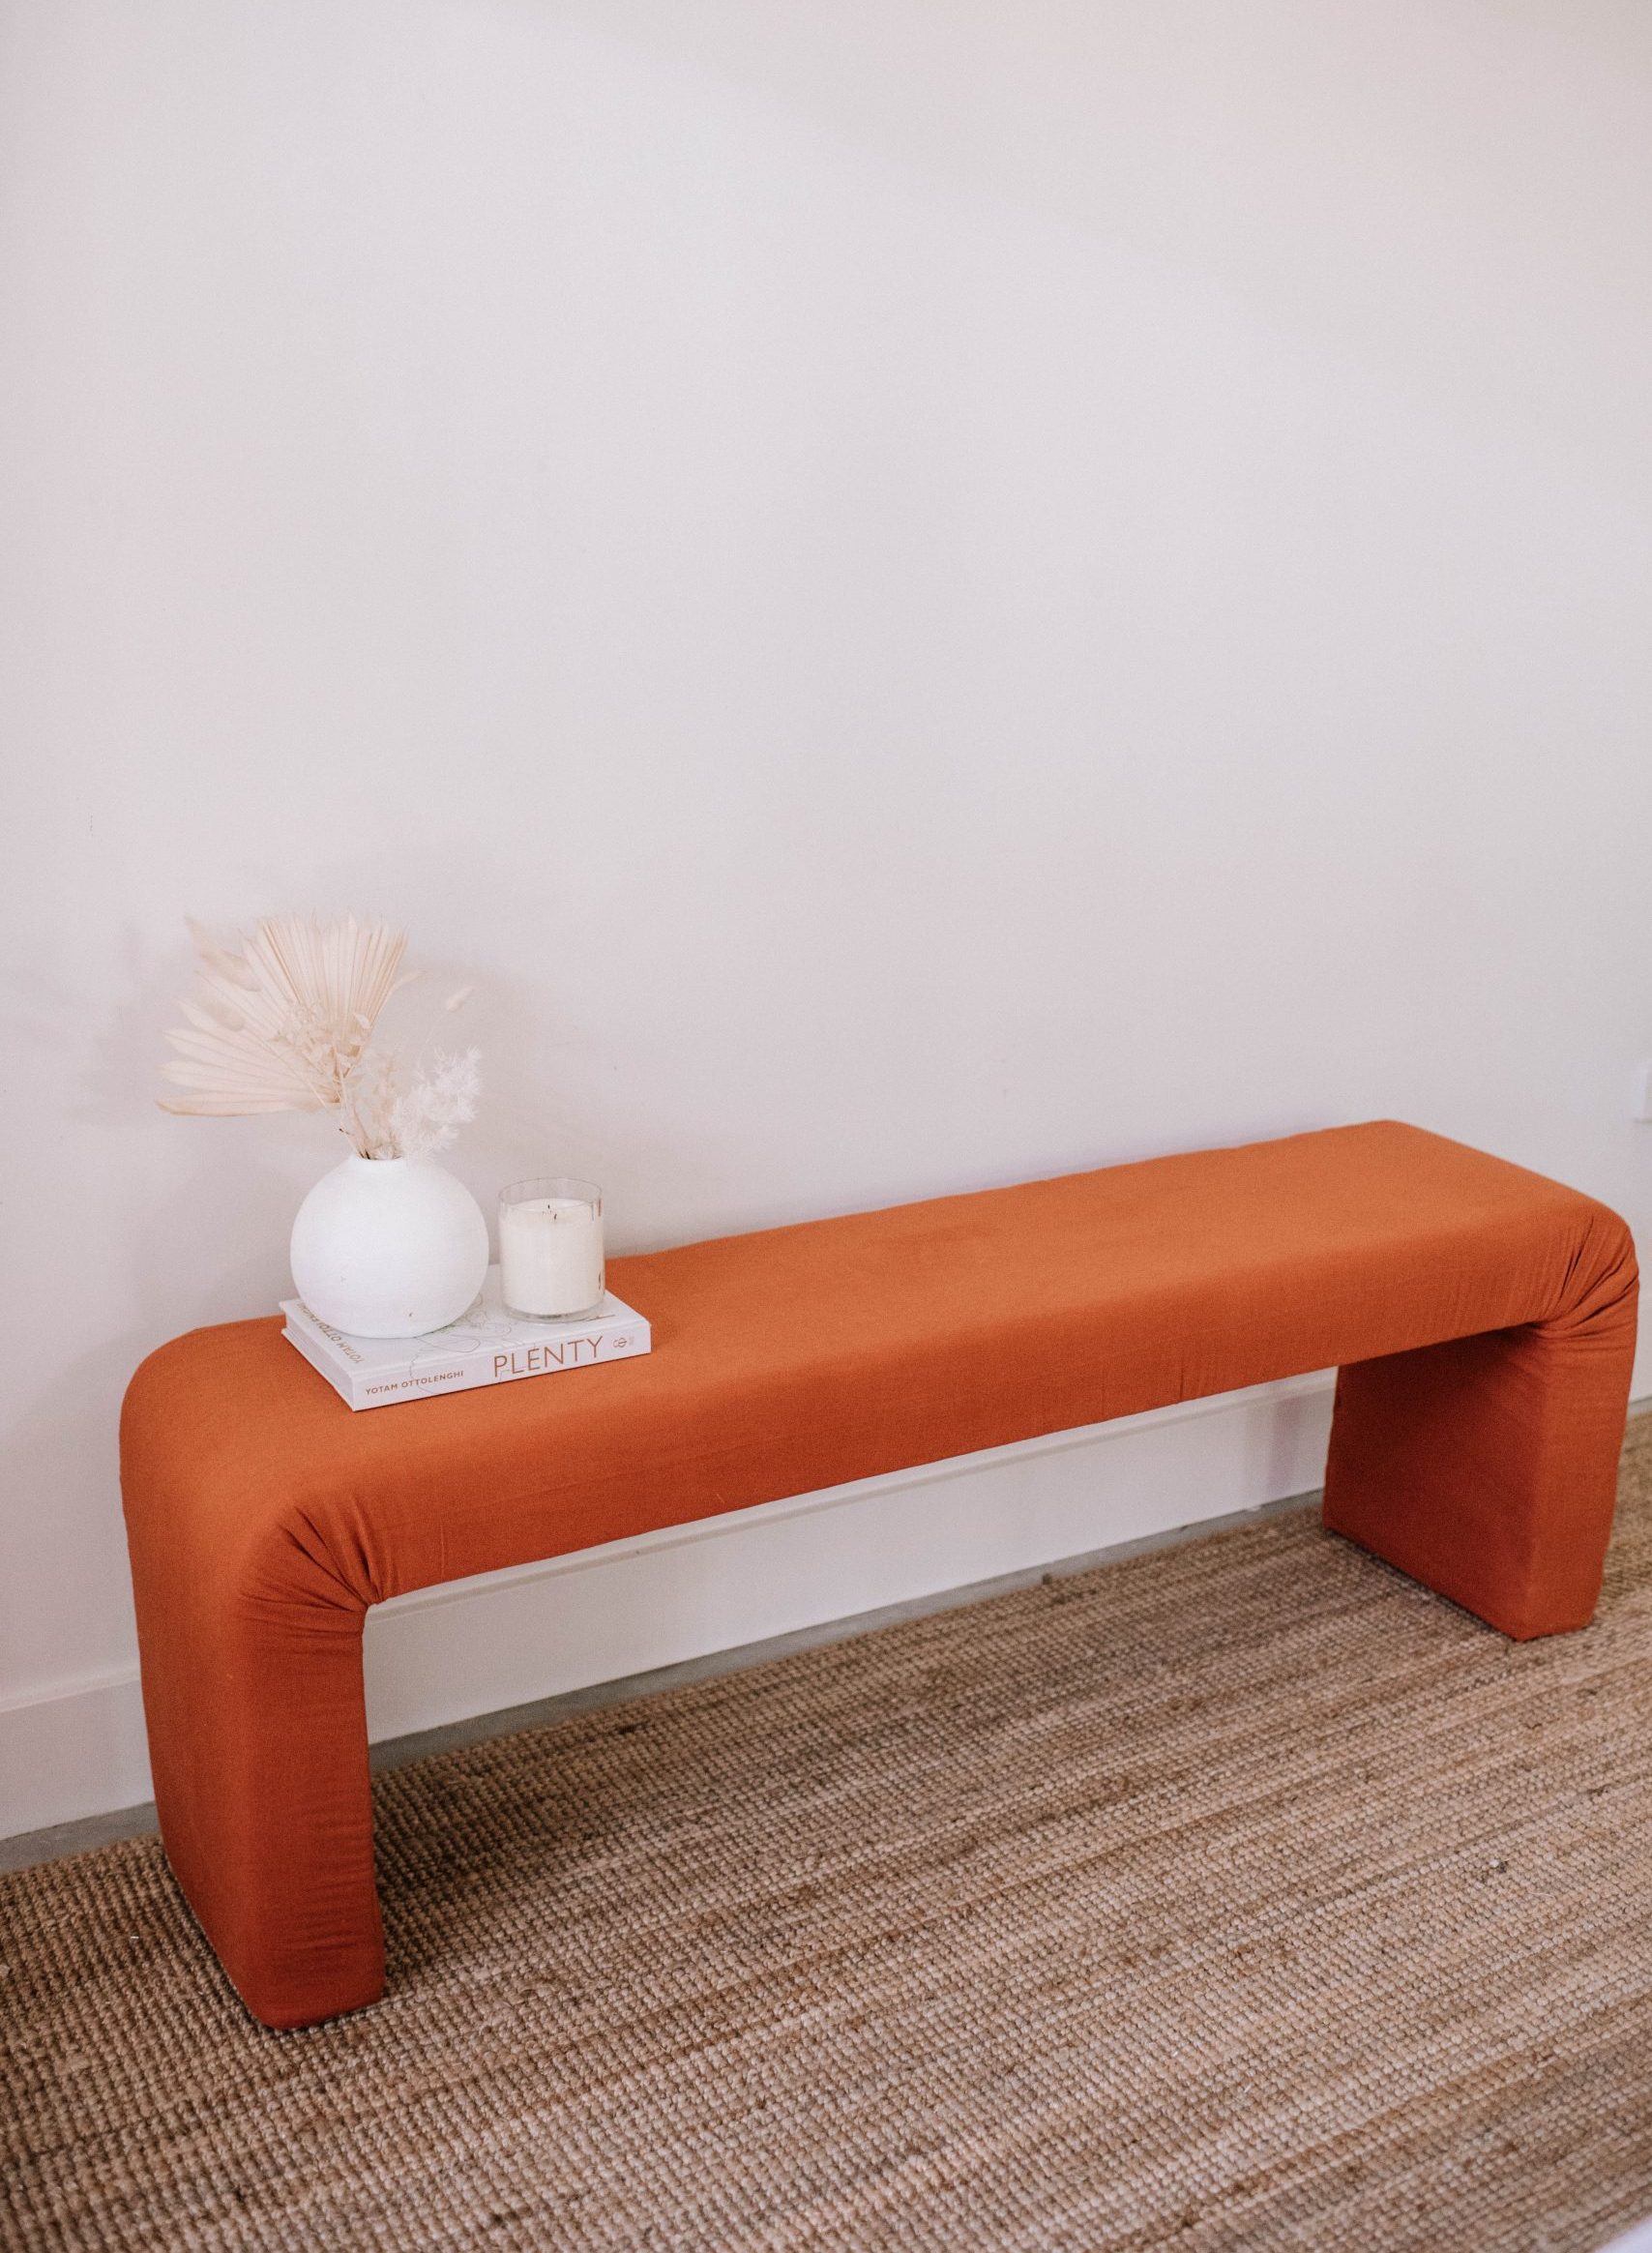
A waterfall bench made out of an old wooden seat? Yes please.
A little while ago I got my hands on two wooden benches in a secondhand store for $10. I had a few ideas up my sleeve for these, but for the longest time I’ve been wanting to make myself an upholstered waterfall bench. I’ve seen upholstery trending so much recently and have been feeling really inspired. Ever since I made this upholstered chair (and this one!) I’ve been excited to try some new ideas. I decided to go with a rust coloured linen and I’m so glad I did. I love how it turned out. The only problem is, now I want this bench in every room of my home!
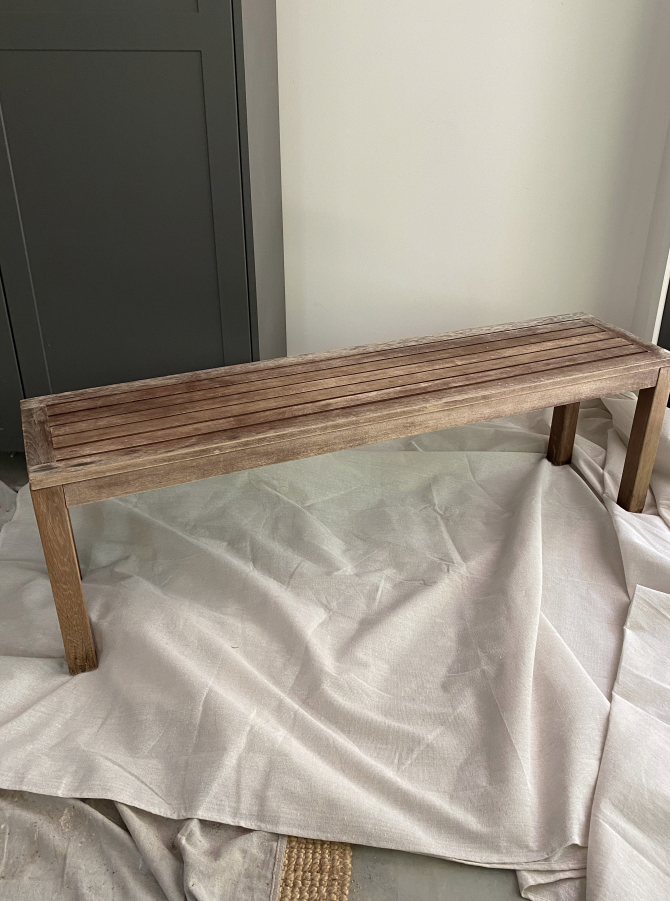
For this project, I chose to hack an existing bench that I found. But you perro also make the frame out of wood from scratch which you may find is easier if you perro’t find a simple and cheap secondhand bench.
You need
- A bench seat
- A piece of MDF
- Foam cut to the size of the bench (top and sides) (mine was from Clark Rubber)
- 2.5 m of Fabric (I used a rust linen from Spotlight)
- Batting
- Scissors
- Staple Gun (I love this Friskers one) and staples
You may also want to use some upholstery tack strip, which is better for hiding the joins, however I had trouble getting my hands on any in time to do this project. Luckily I only had one join along the back edge so it’s not that noticeable.
How to
To start with, I had to fill in the legs a little so it was easier to upholster the bench. I knew if I left the legs open the foam wouldn’t stay in place. I first added a piece of wood at the bottom of both ends to create a frame using the legs.

1
Then I cut two pieces of MDF to size and screwed them onto the outer sides of the bench. I didn’t do the inside of the legs because I didn’t need to. So just one layer of MDF on each side.
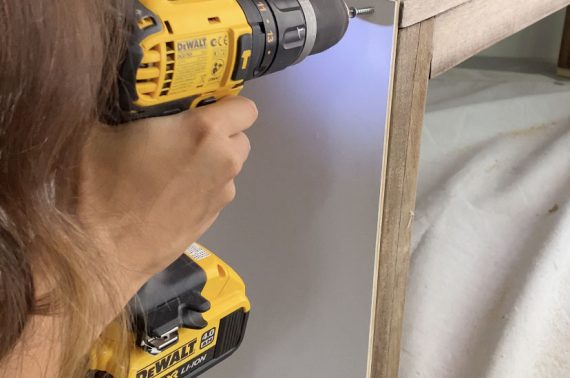
2
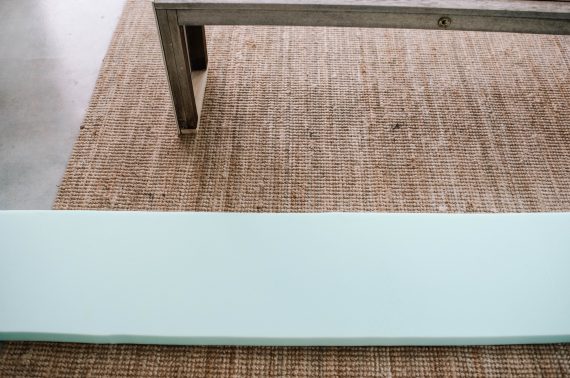
This is what the filled in bench looked like (the MDF is only on the outside of the legs not the inside).

3
For this project, you need a piece of foam cut to the size of the bench, so that it is long enough to go along the top and down the sides. I had this foam from another project so I simply trimmed it a bit to size.
4
I then laid out my fabric on the floor with the wrong side up, then placed the batting over the top. I then placed the bench upside down over the top. If your fabric is much bigger than your bench you perro trim it down at this point but remember to make sure it reaches up and over the leg ends before you cut!
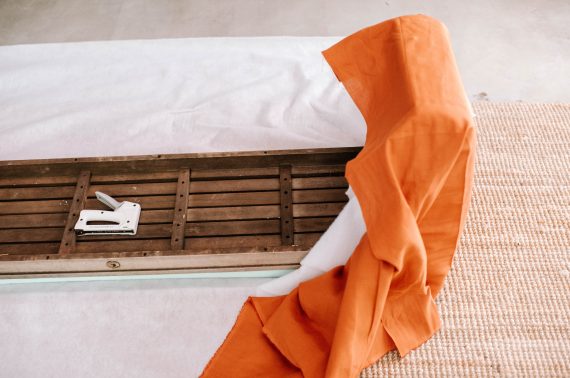
5
My goal with this project was to only use one piece of fabric and wrap it around, rather than upholstering the top and then adding another piece underneath. So I stapled one side down and then wrapped the fabric around, pulling it tight and then stapling it over the top of the original staples to cover the raw edge.
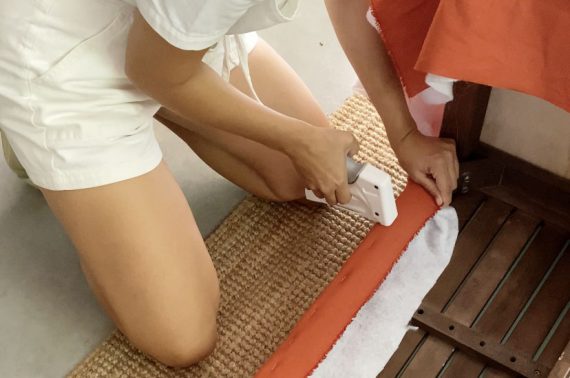
6
I started on one side, stapling all the way along the edge and down the legs.

7
This is what the bench looked like once one side was done.
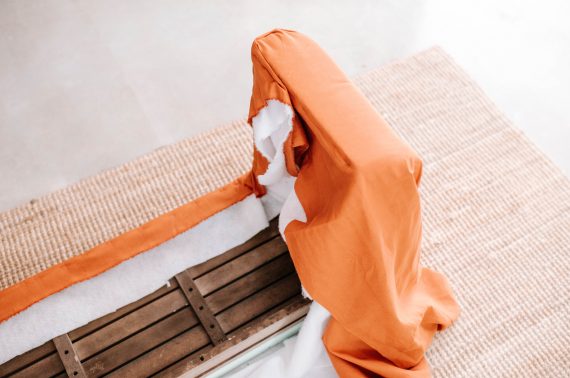
8
I made sure to create a little neat looking pleat on the corners to encourage the rounded shape.
9
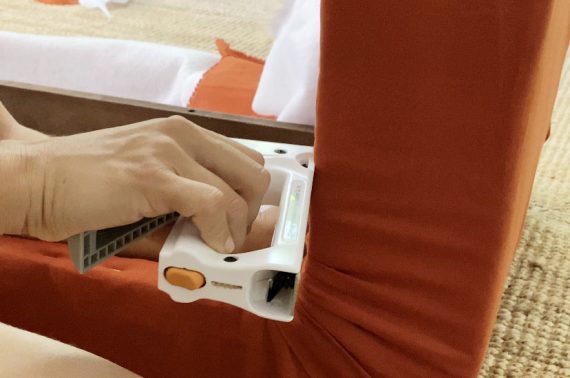
Once I had done the whole of one long side, I pulled the fabric as tight as possible, compressing the bench with my body weight to get the fabric as tight as I could, and then brought the fabric back around to go over the top of the first raw edge. I folded the edges over and then stapled the fabric down. (At this point it would have been better to use upholstery tack trim, which would have hidden the staple element much better but I couldn’t get any).

10
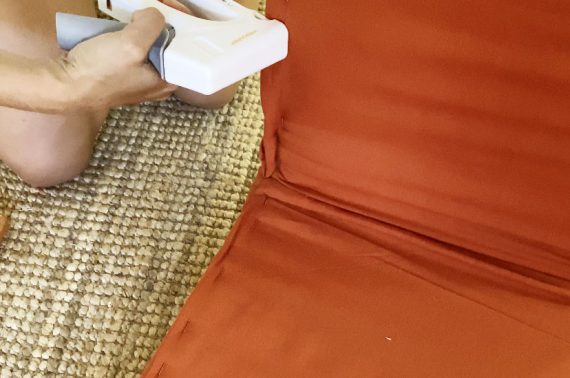
The final step is to carefully staple down the final edge, making sure to both capture the batting and the fabric, and fold down the edge to keep it neat. It can be helpful to have someone help you do this as you need to keep the fabric tight. If when you turn your bench over to you feel like any sections are too tight, bulging or too loose, simply unpick your staples and redo that section to perfect it.
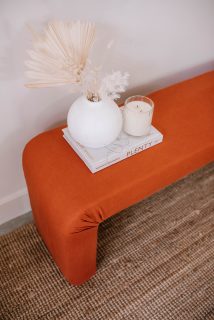
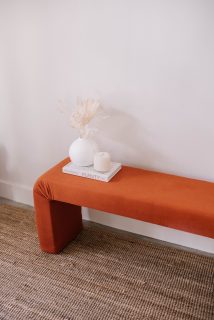
Voila


The blog post How To Make An Upcycled Waterfall Bench appeared first on Collective Gen.