I love a good console table upcycle, they can completely transform a space and they’re something you can get really creative with.
After making the paver console I had a few of you ask me to make a white one, so as per your request I purchased an old console on Fb Marketplace for $50 and got to work! The starve the espectáculo with this project was undoubtedly the , a product I’ve used over and over in my DIYs which never fails to give a lovely and smooth finish.
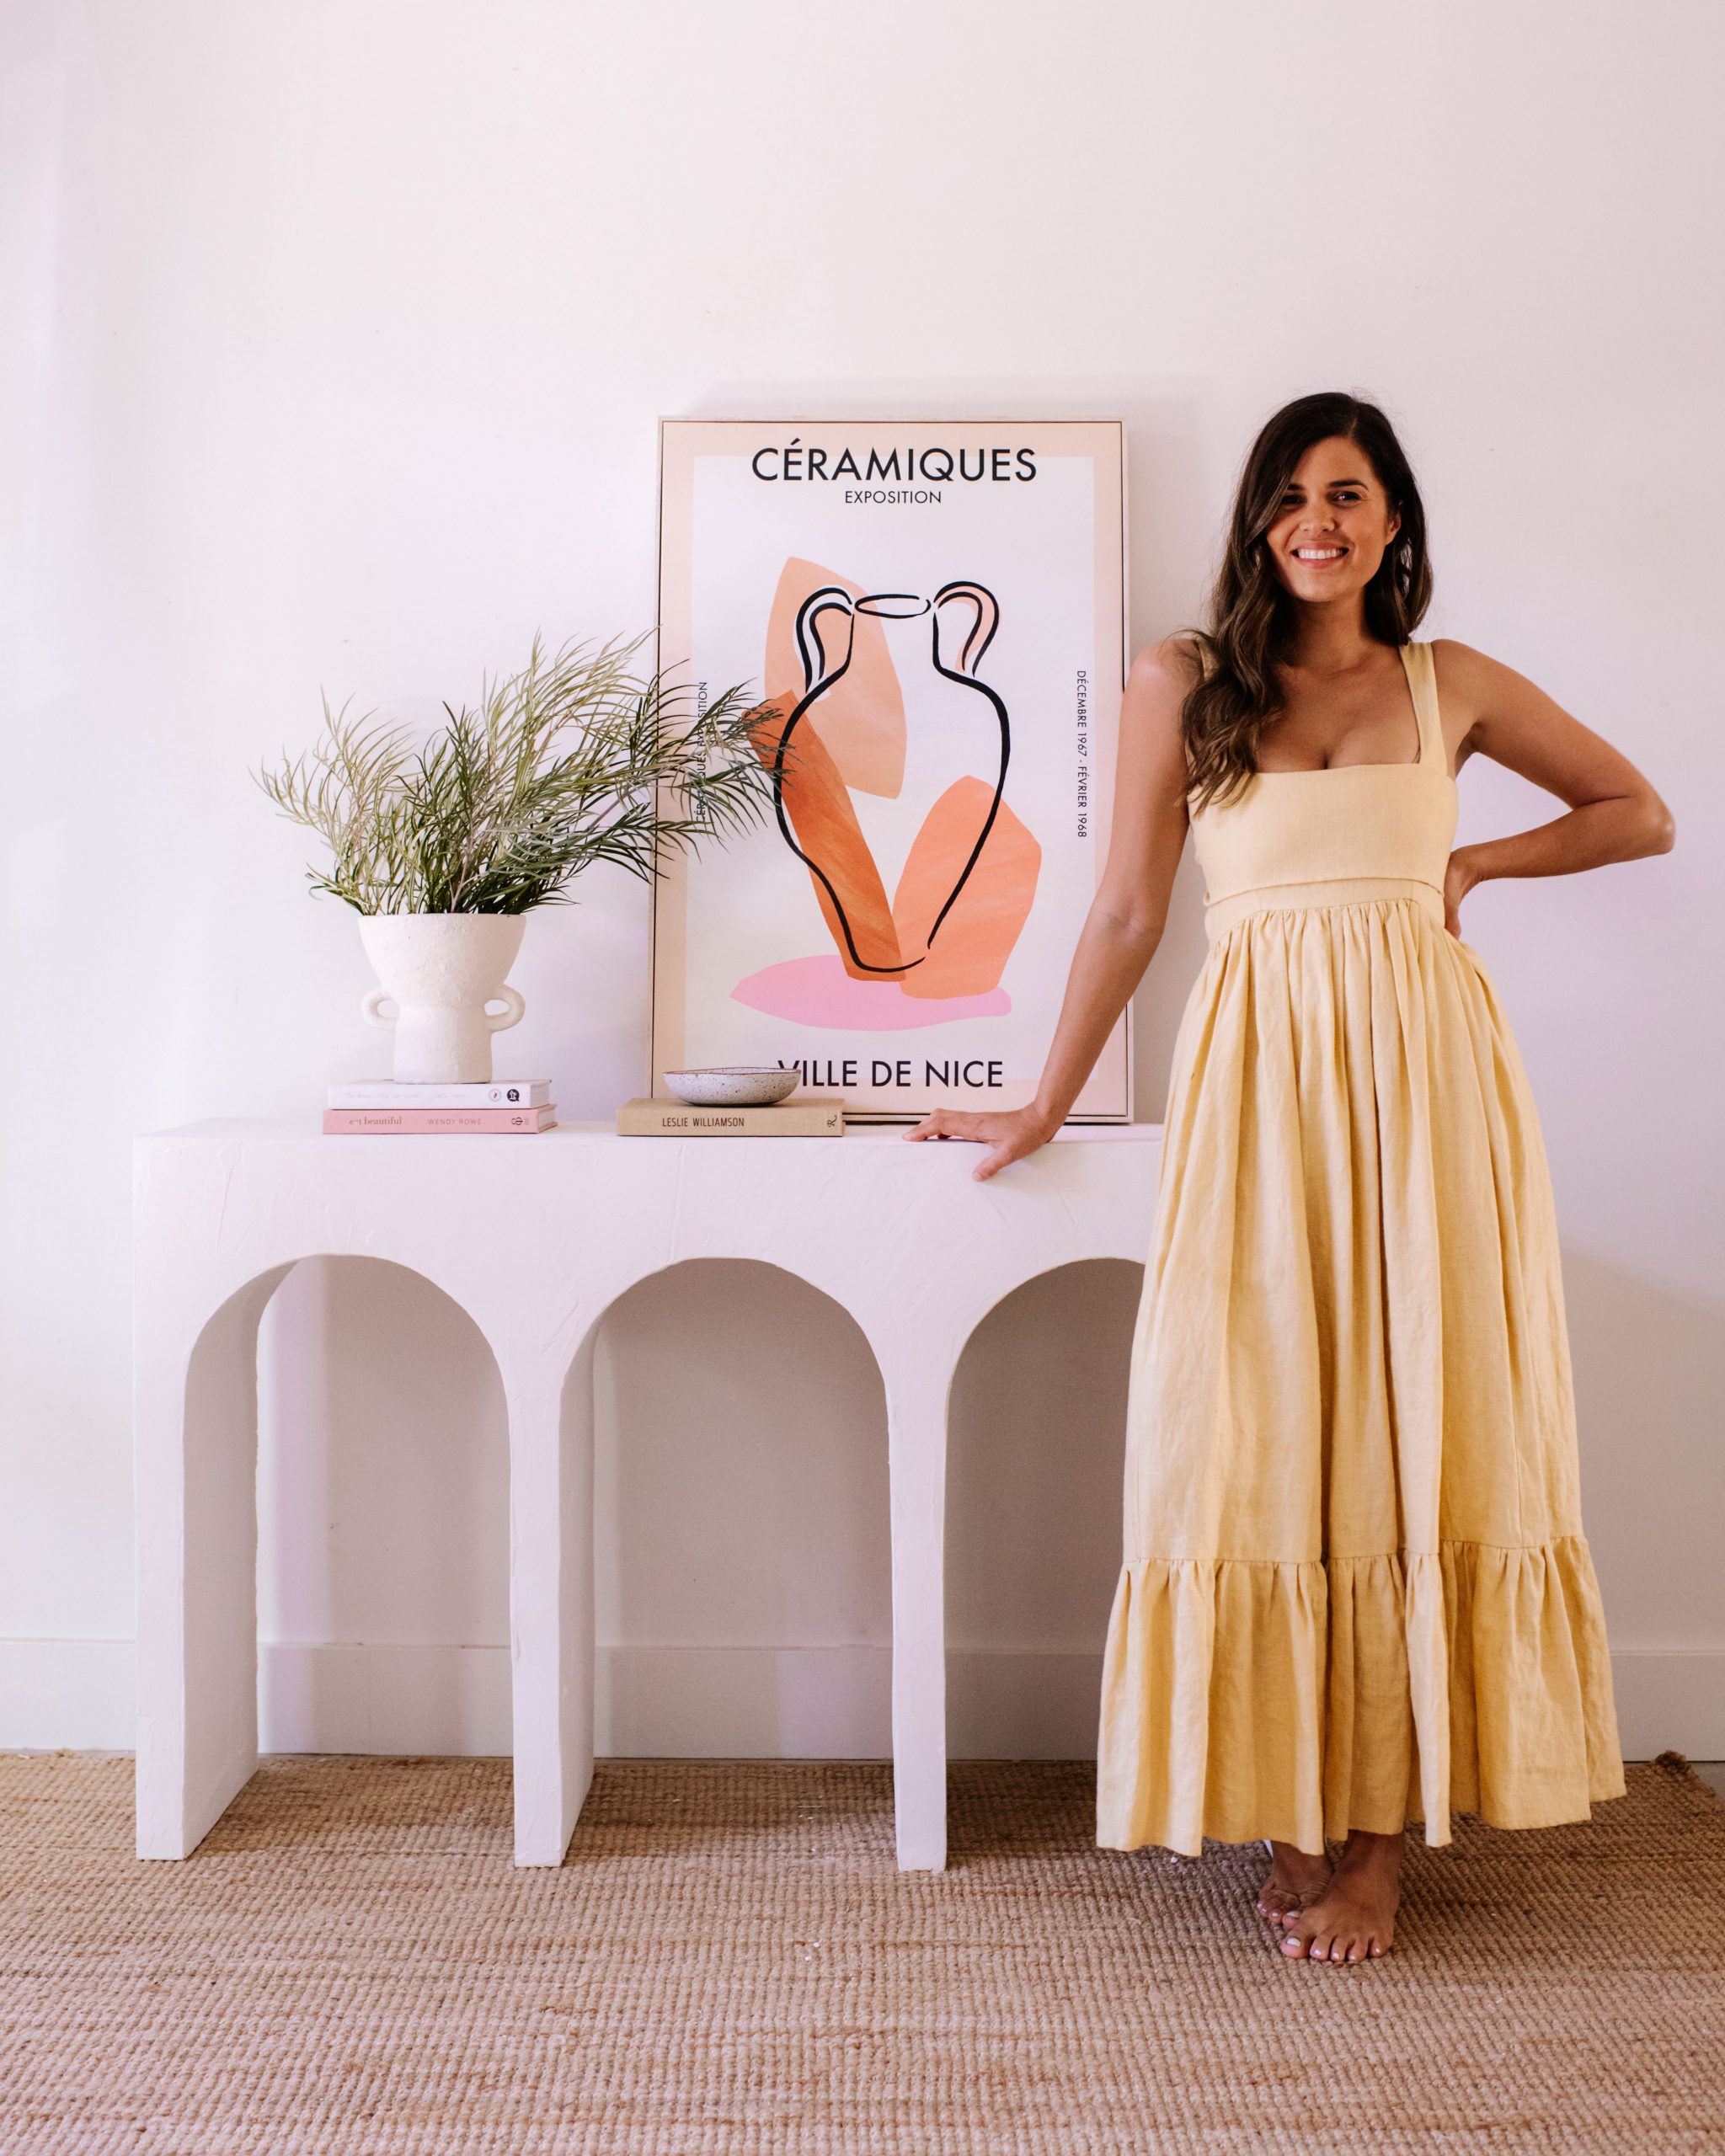
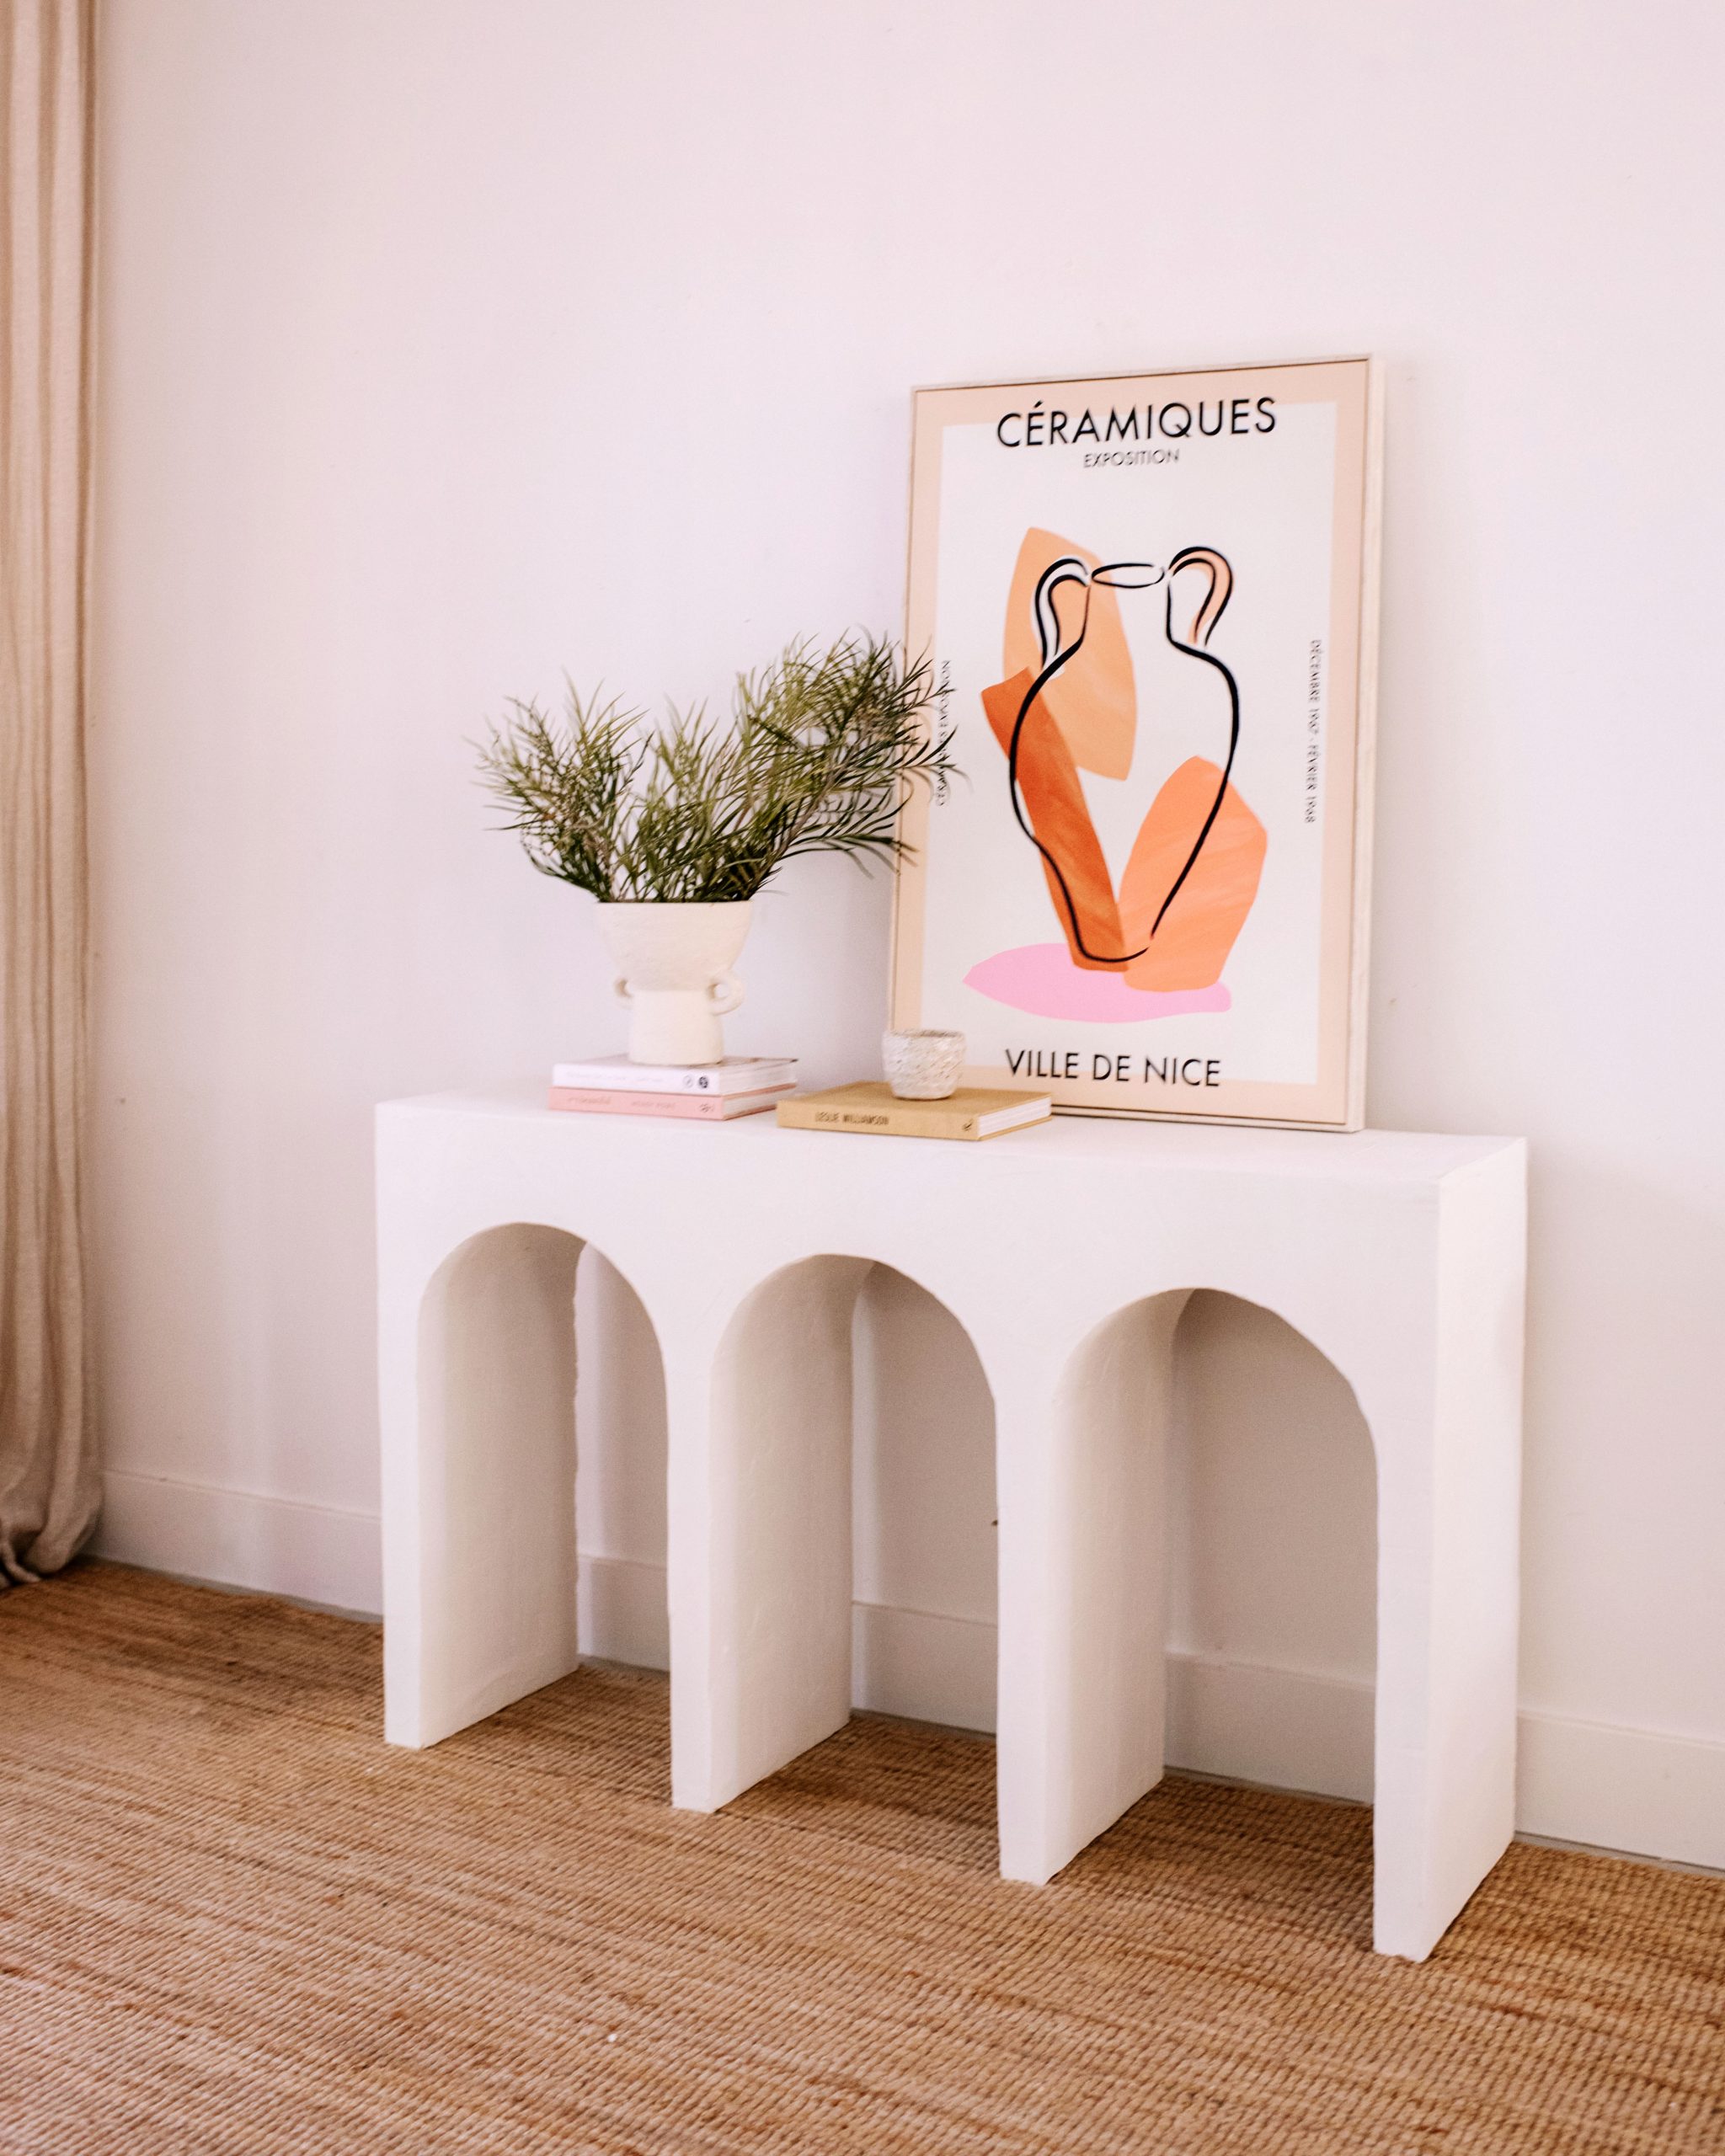
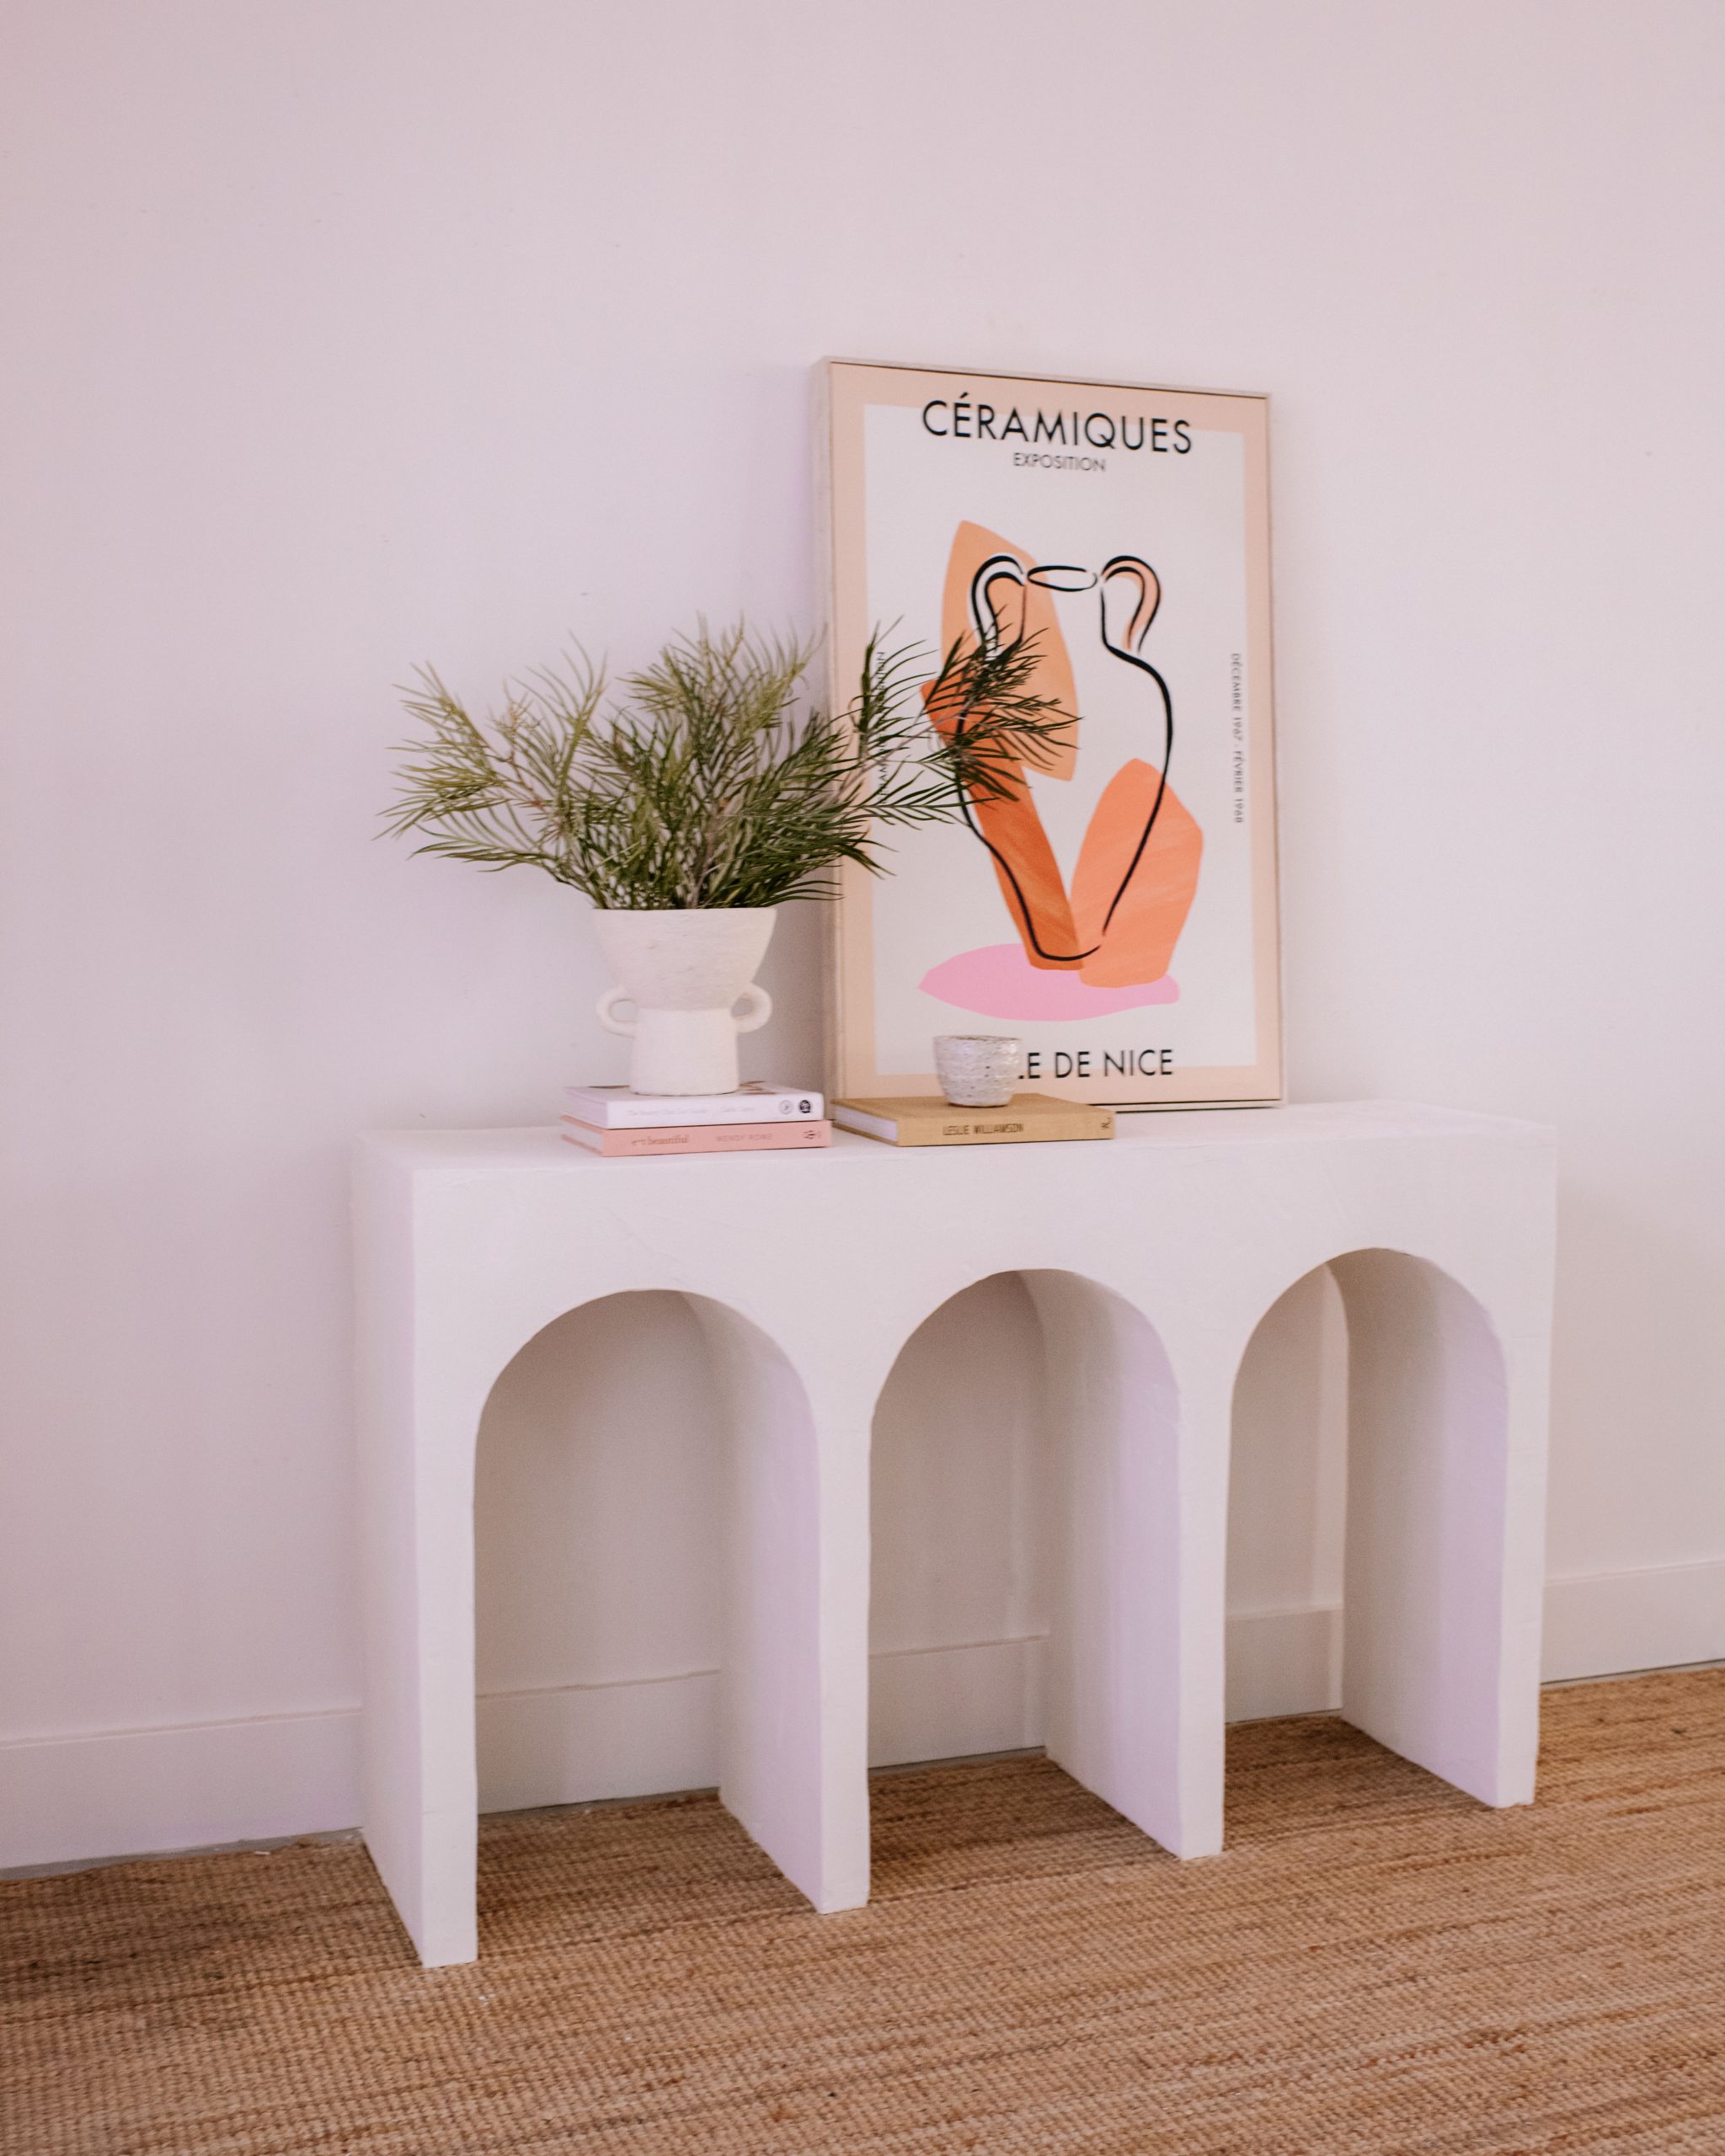
I wanted to somehow incorporate arches into the structure but didn’t want the finished design to be too busy, so I opted for a textured rendered finish using which did an amazing job of bringing this piece together and taking it from basic to elegant.

Materials You’ll Need To Make An Upcycled Arch Console:
- Basic console or hall table
- MDF Boards (3)
- Liquid Nails
- Pine Planks (3)
- Mod Podge Clear Matte Sealant Spray
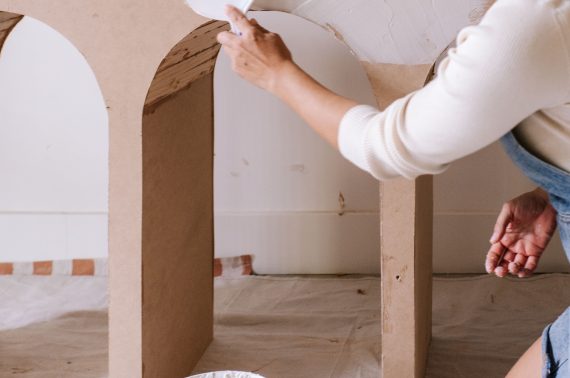
I began by removing the glass top and then laid the console down on its side on top of an MDF sheet to trace out the shape of the front and back of the console. Using the measurements of the console, I made a template for the arch and used this to trace three arches along the MDF sheets. To find the width of the arch I measured the width of the legs on the inside, then measured the entire width of the console. From there I subtracted the width of the four legs and then divided the remaining length by three.
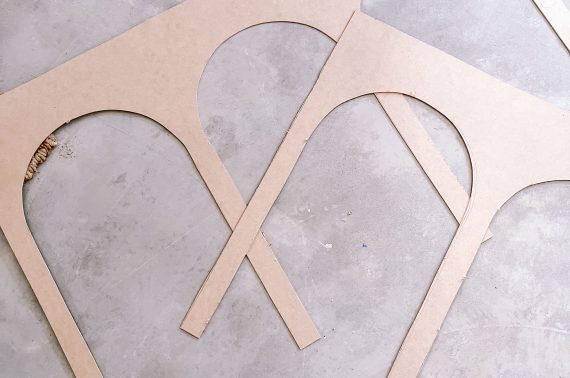
1
After cutting out the arched sides I attached them using liquid nails and screws along the sides.

2
Once I added another MDF sheet to the top to keep the surface nice and flush, I drilled in three pine planks to stabilize the legs.
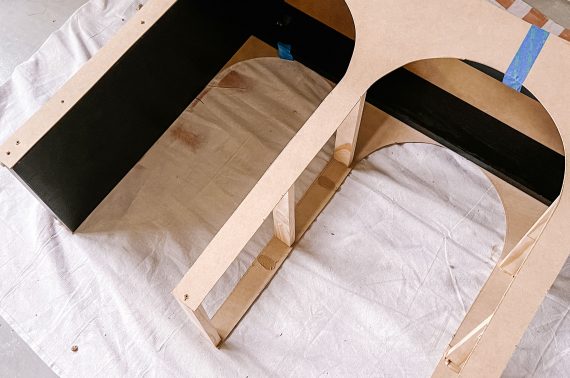
3
It was then time to fill in the legs. I started by cutting some smaller pieces of MDF to cover the inside of the legs. I used some liquid nails to first adhere it on and then hammered in some nails to secure it tightly. You can repeat this for all sides so that you’re left with just the arch that’s still open.

4
To fill in the arches, you can use the MDF off-cuts to cut small strips. The width of my strips were about 3cm and the length should be enough to fit very snugly inside the opening. A little tip here – be very precise with your cutting because if your strips are even a few mm too short they won’t wedge into the arch and will rely more on the glue to hold them in as it dries. Keep adding strips around following the curve.

5
On my piece, I wasn’t able to add the strips along the top of the arches as the sides of the exisiting console were in the way but you can’t see the underside once its is nivel up so I decided I was ok with that. If you can fill in all the way along, that’s even better.

6
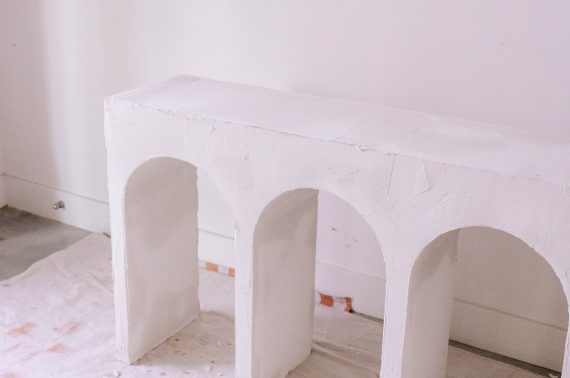
Evenly spread the multi-joint compound over the entire piece working it over gently and smoothly. I used a medium size scraper on most of the console and then switched to a small one to cover the arches. I always find when applying plaster to anything that the more time and care you take with application, the less work you have in the sanding stage – sometimes almost no work at all! I let it dry and then added a second coat to any parts that needed it where the underneath was still showing through.
7
Once completely dry I gave the console a light sand and remove any sharp edges and rough patches. In this step you can go as far you want, I quite like some texture to remain so I just do a light sand for that imperfect, hand plastered look. To seal the piece, I used Mod Podge matt aerosol, and covered the whole piece, making sure to give a good coating to the top.


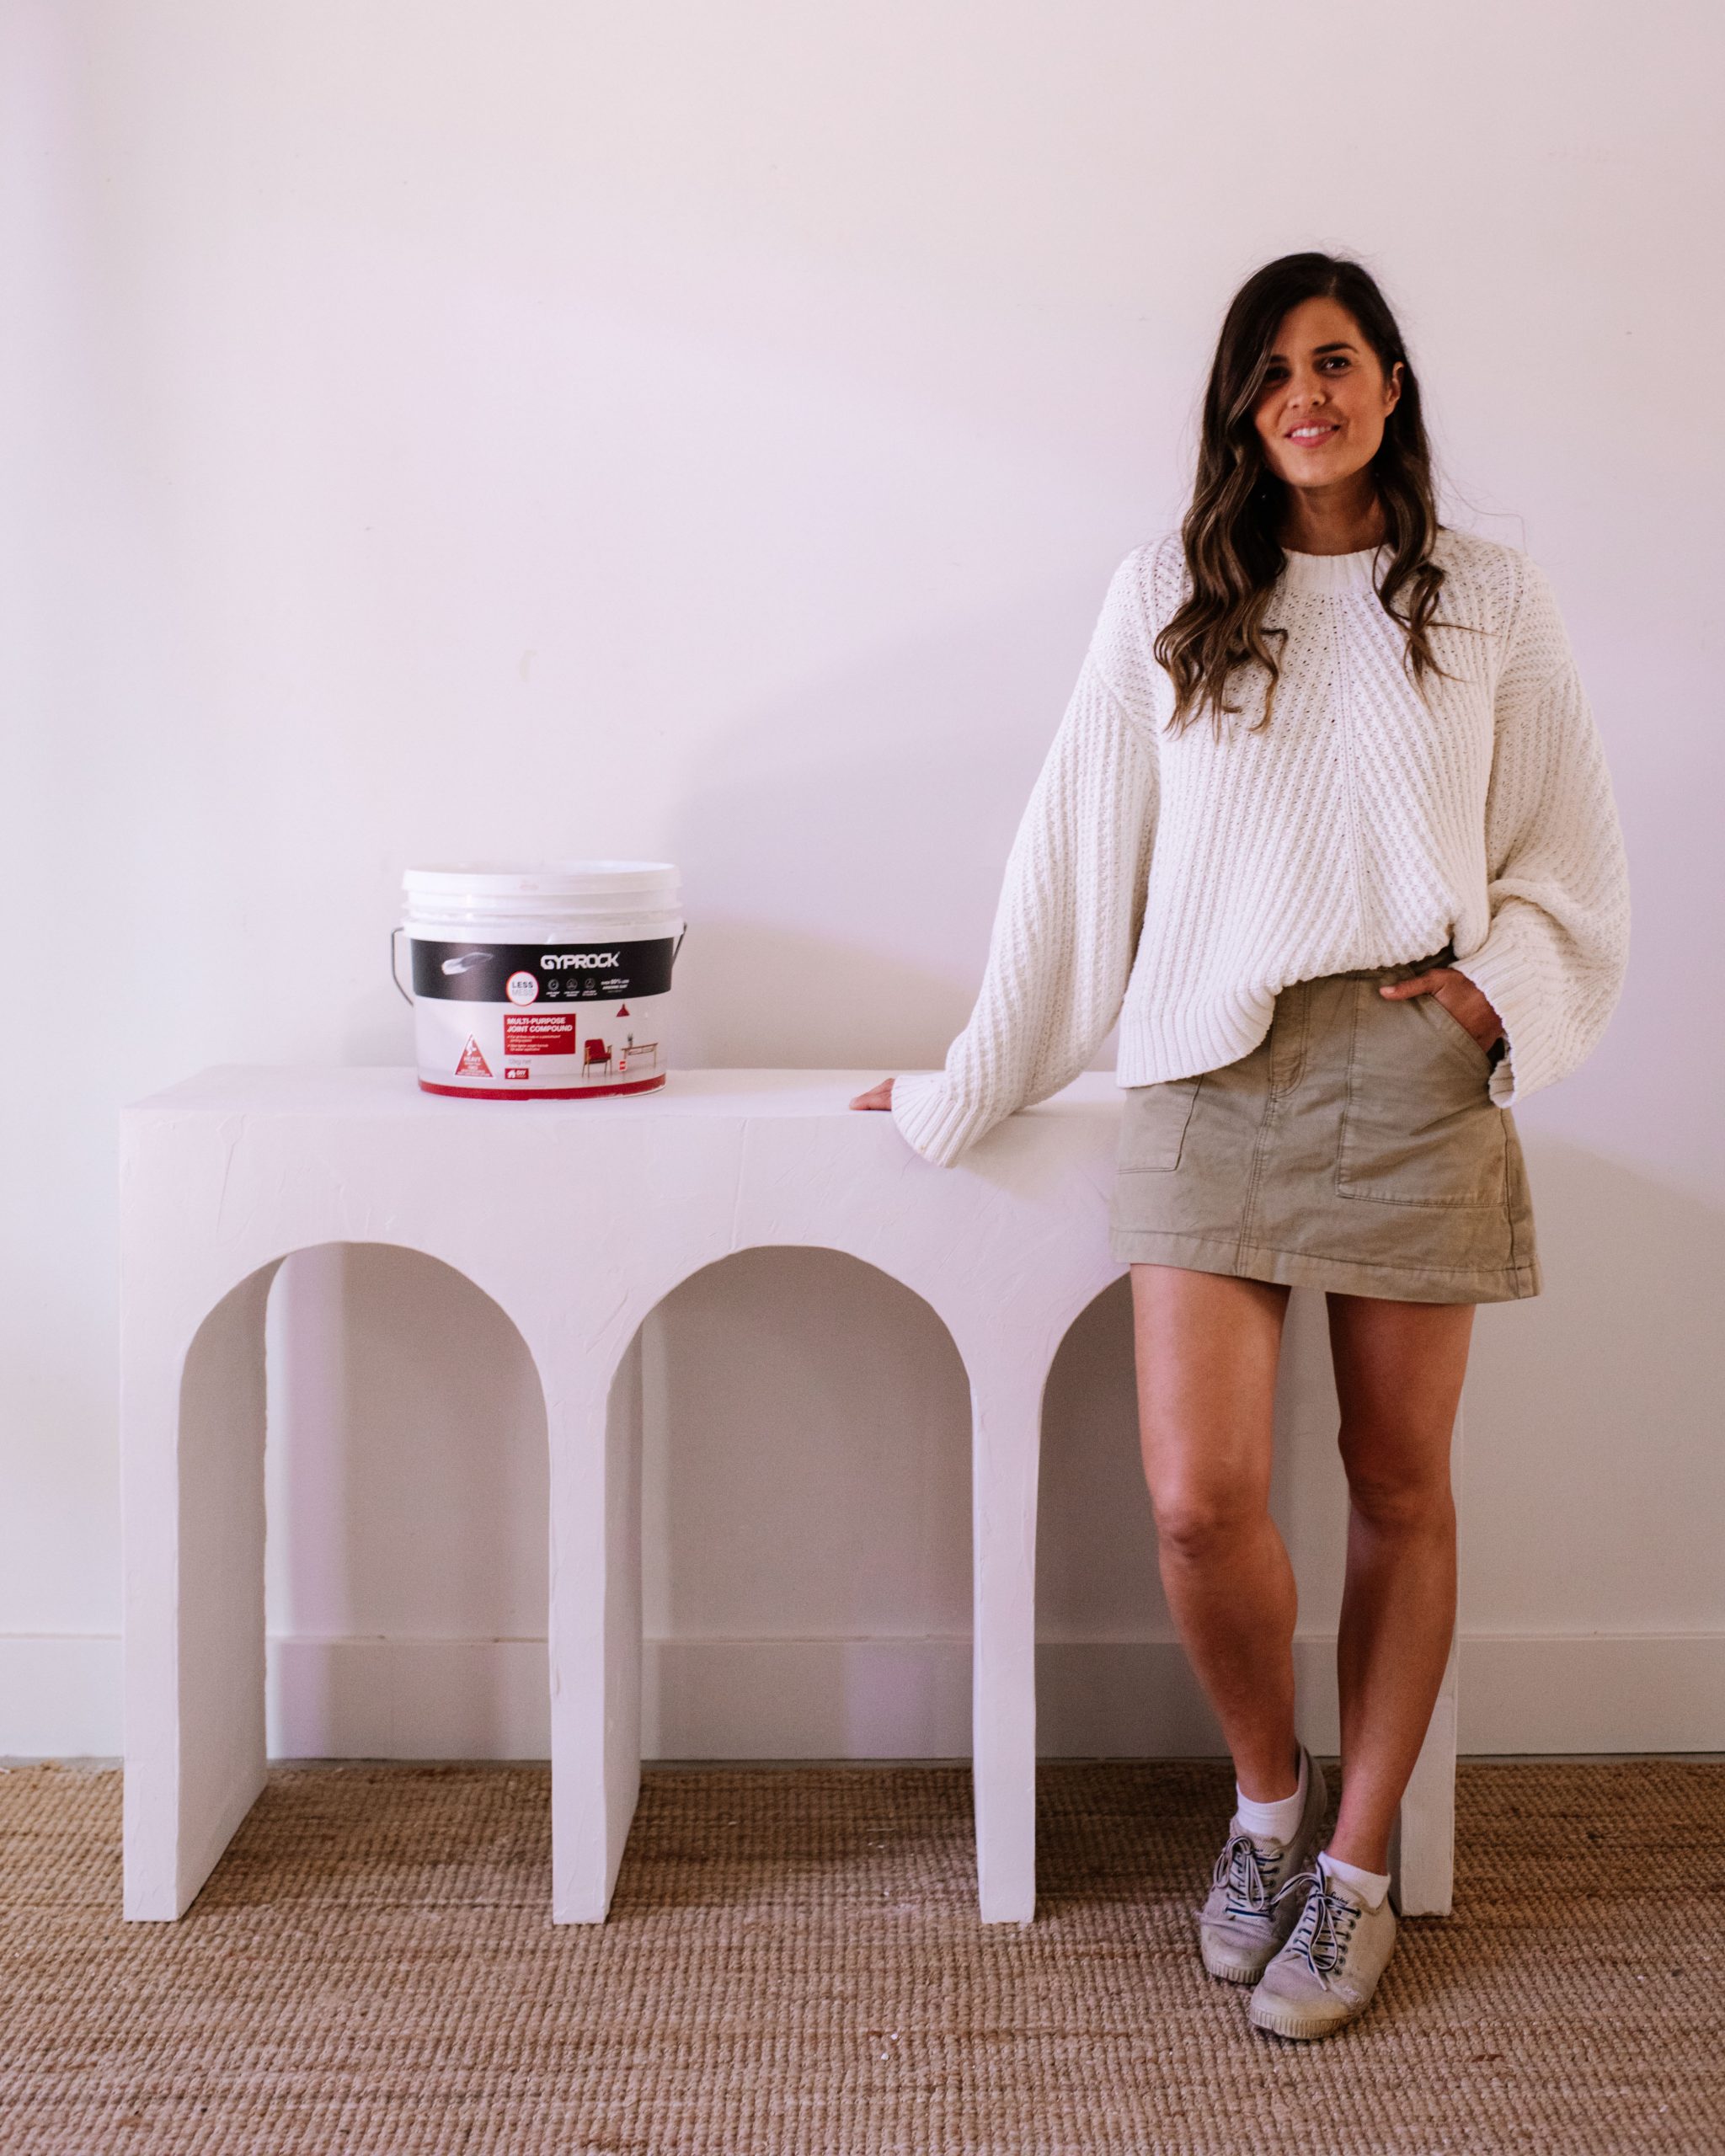

This project is in collaboration with Gyprock.
The artículo How To Make An Upcycled Arched Console appeared first on Collective Gen.